

You bought a shiny LED face mask or you’re eyeing one, and now you’re staring at all those colors like a kid at a traffic light. Red? Blue?
Near-infrared? Which one does what, and do you need all of them? Let’s decode the rainbow so you can actually get results instead of just glowing like a sci‑fi extra.
LED therapy uses specific wavelengths of light to nudge your skin cells into doing useful things—like making more collagen, calming inflammation, or telling acne bacteria to take a hike.
No UV. No downtime. No drama.
Think of each color as a “command”:
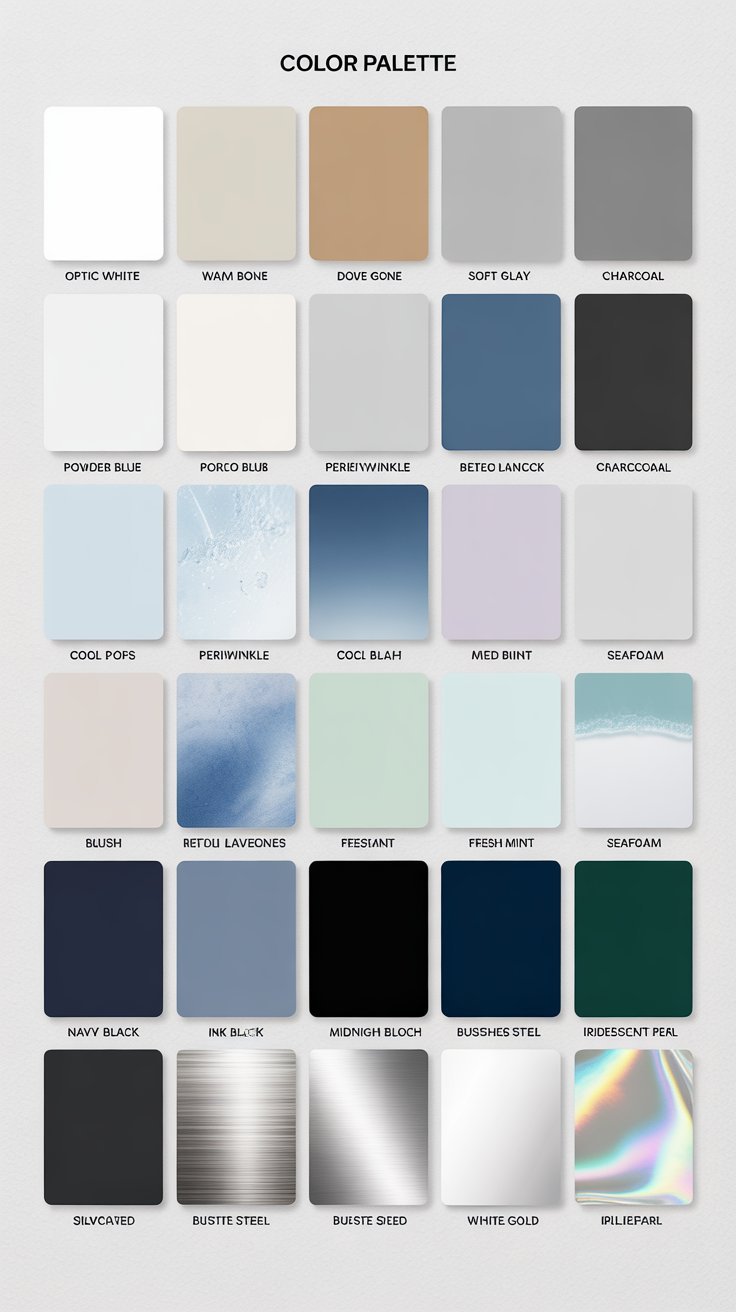
FYI, the magic comes from the wavelength (measured in nanometers), not how cute the mask looks on your bathroom counter.
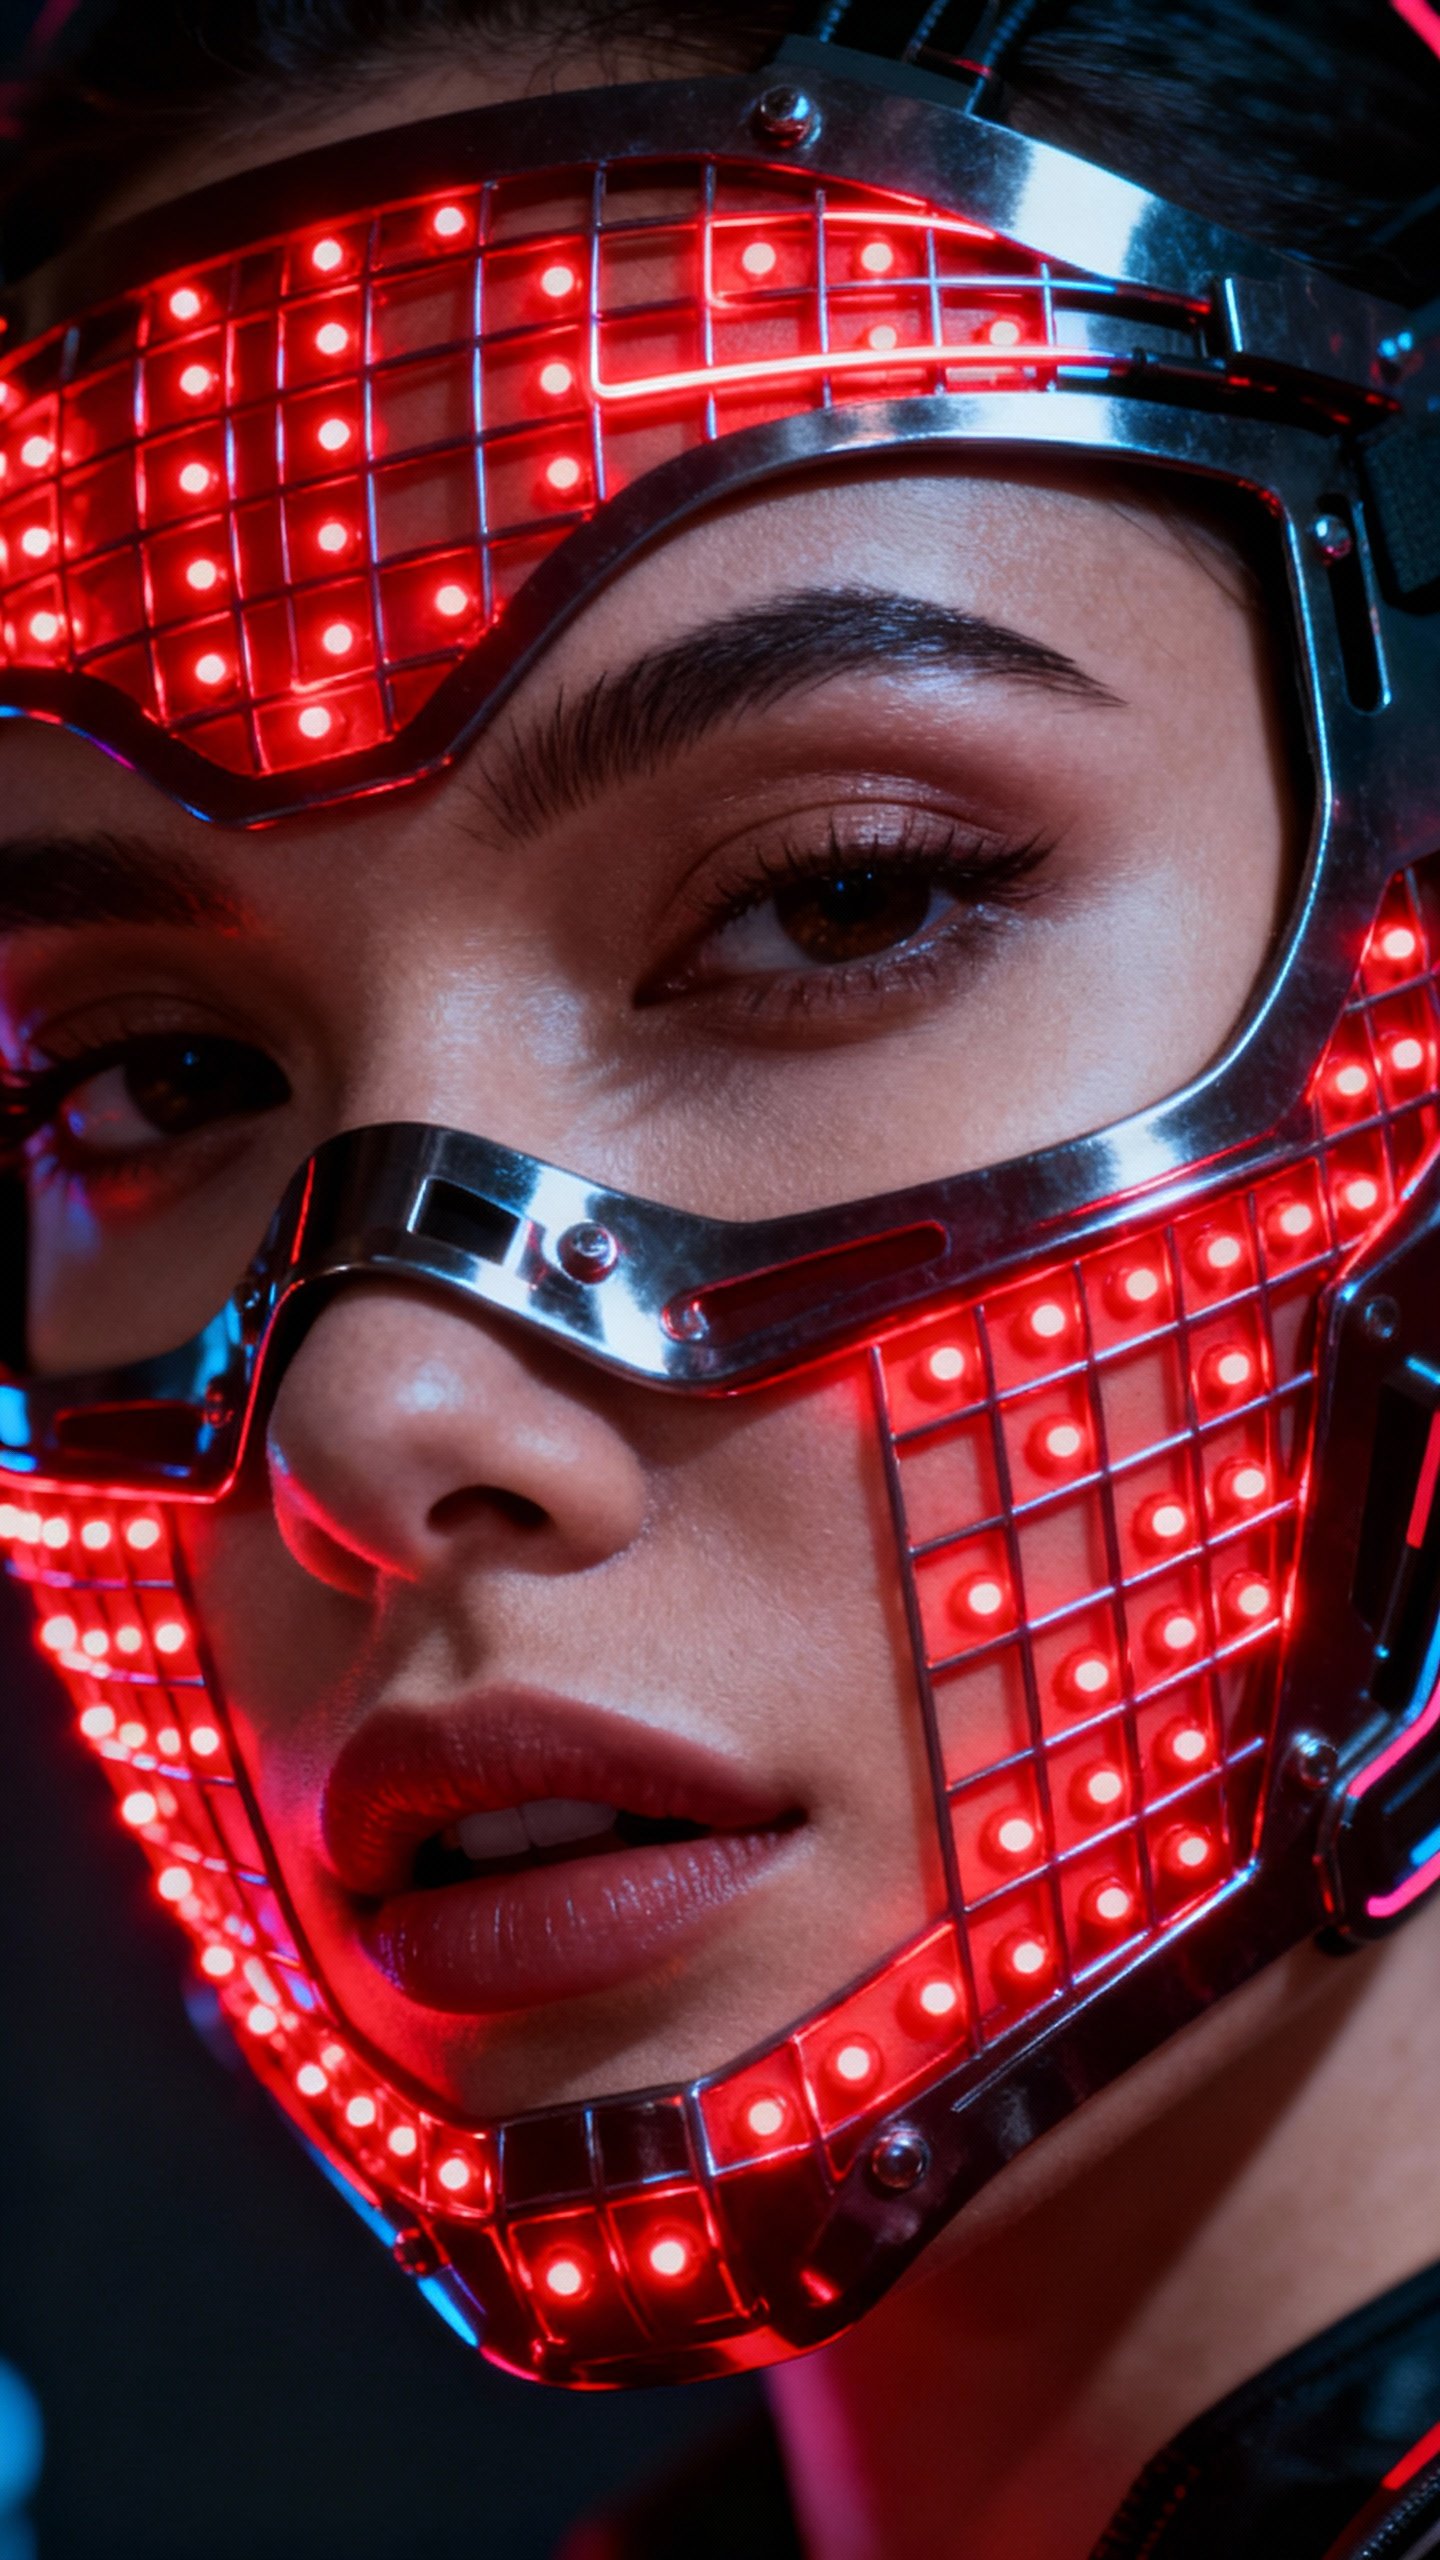
Red light sits around 620–660 nm and targets the mitochondria in your skin cells. Translation: it helps your cells make more energy so they can build collagen and repair damage. What it’s great for:
How to use it: 10–20 minutes, 3–5 times per week for 8–12 weeks. Then maintain 1–2 times weekly.
Consistency matters way more than cranking the brightness to “lighthouse.”
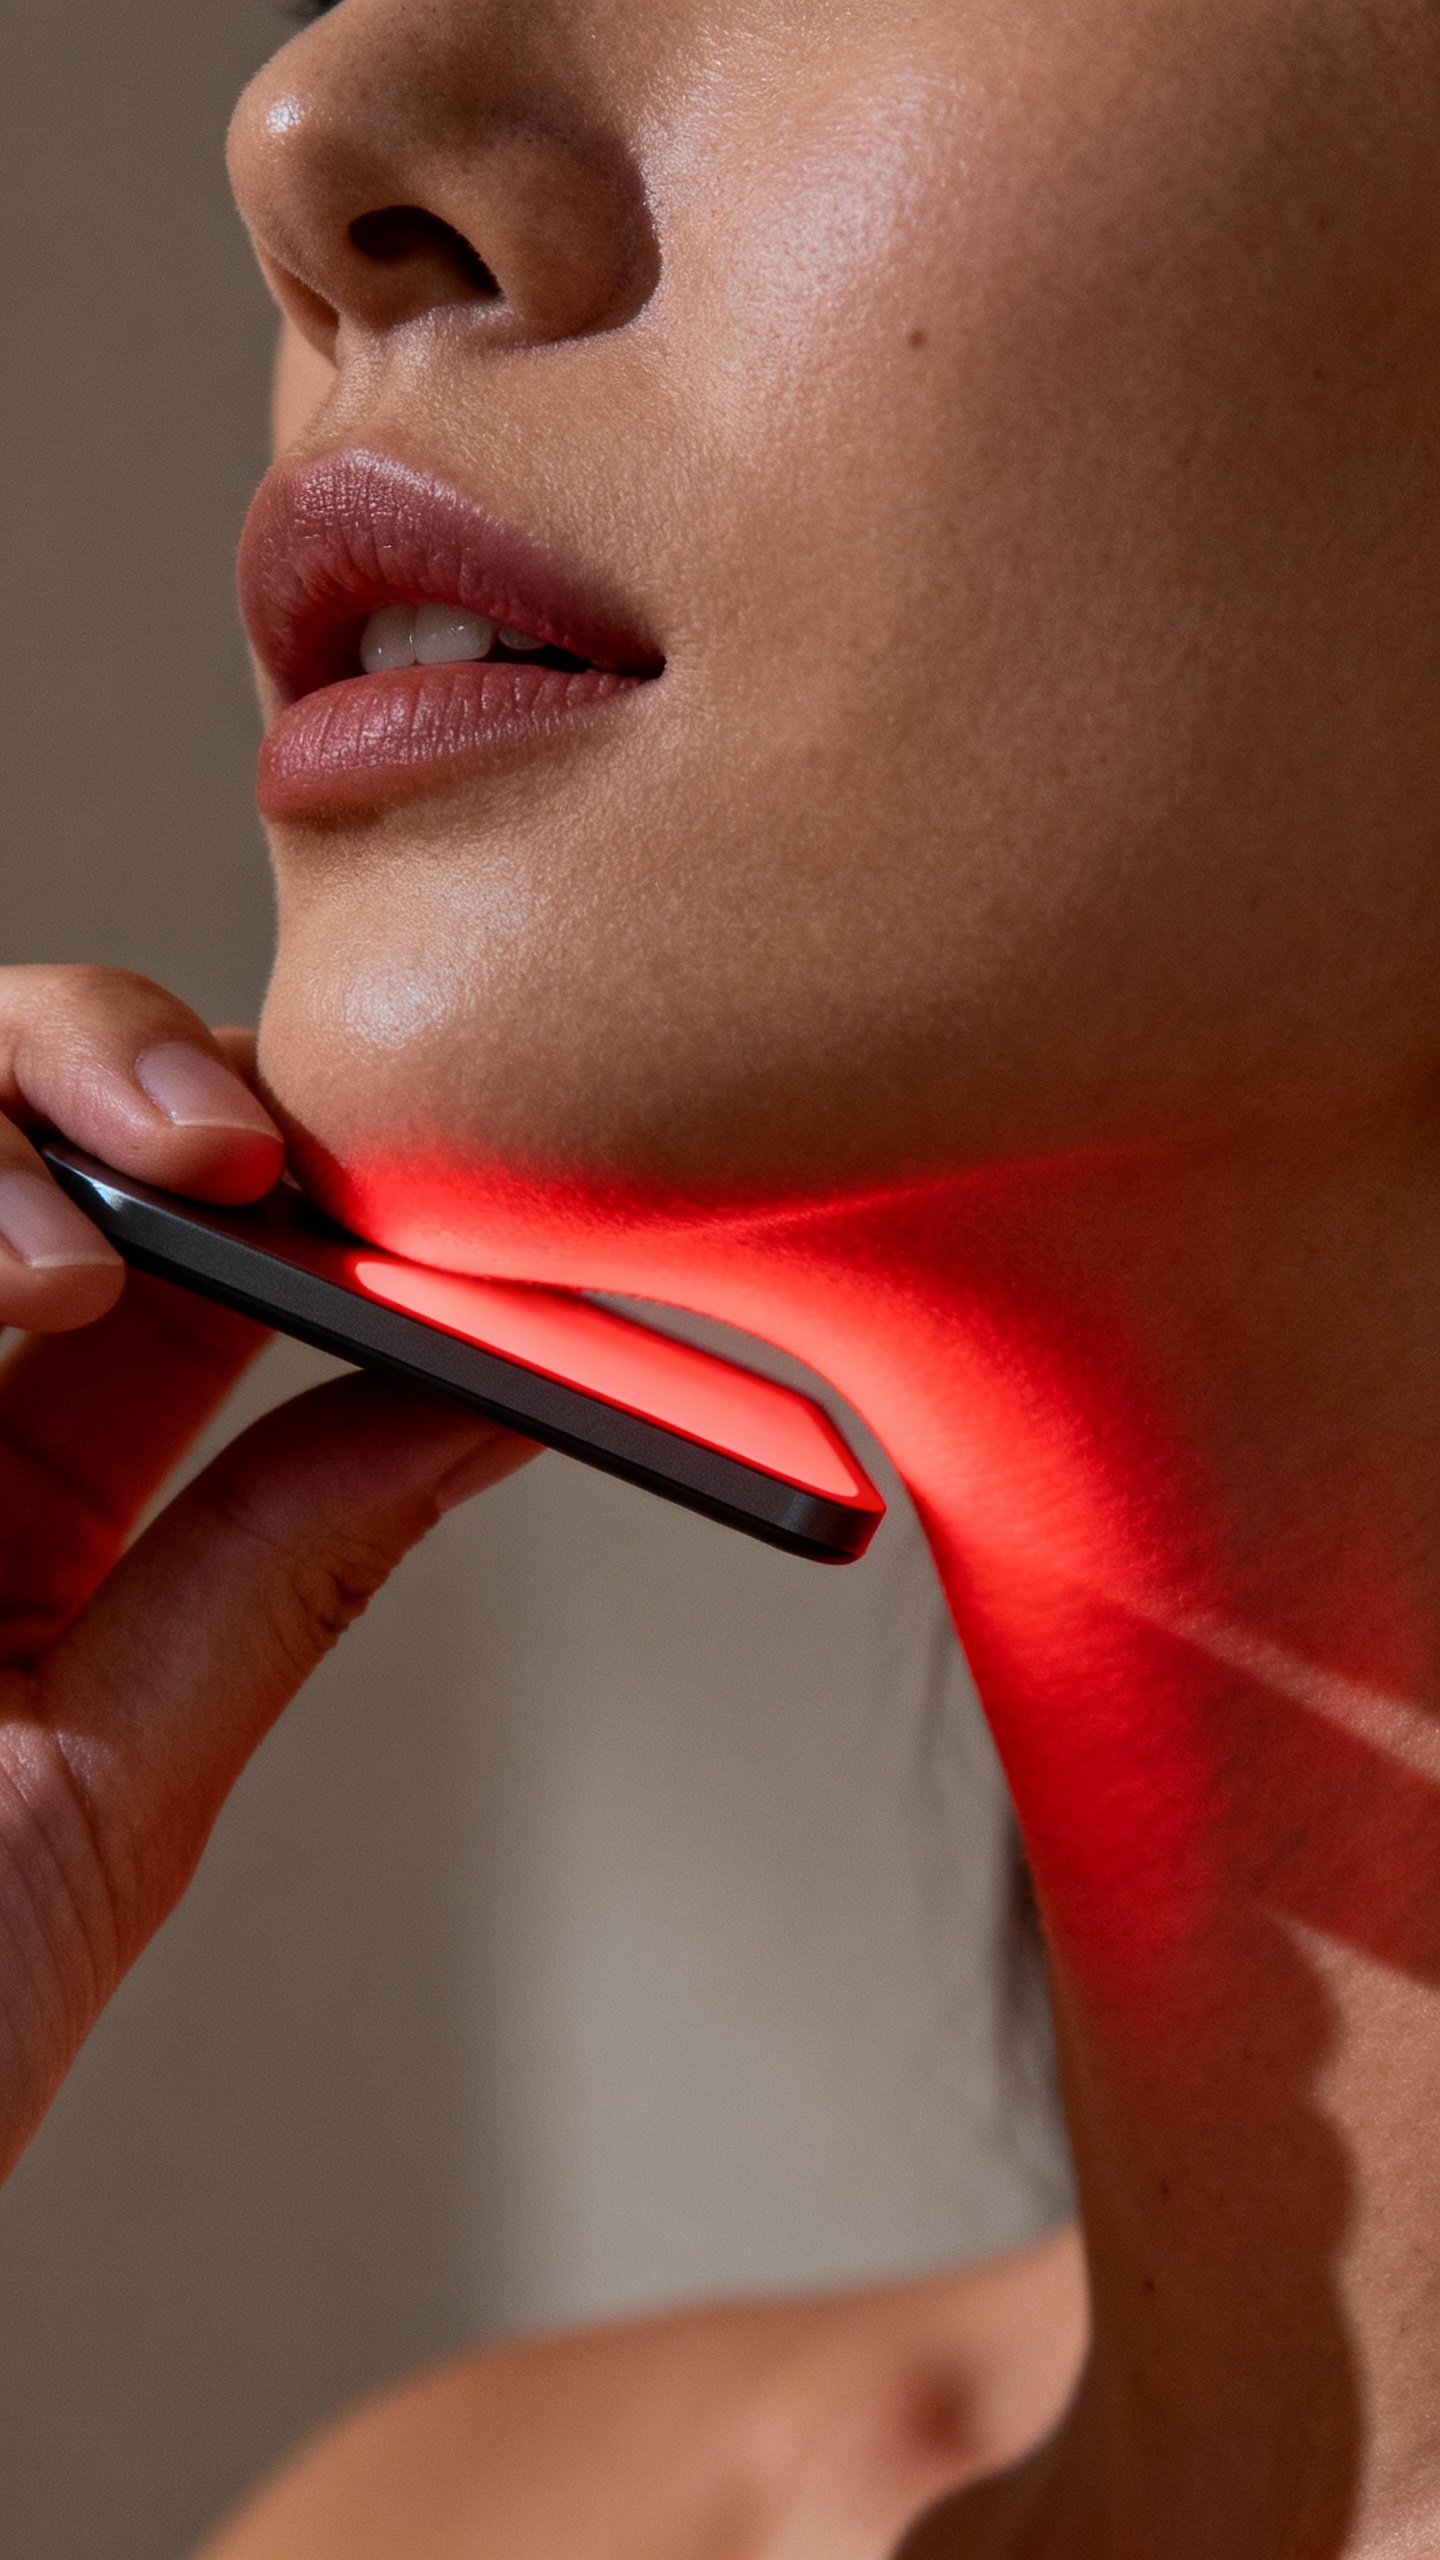
Near-infrared (around 810–850 nm) penetrates deeper than red. You won’t see it (it’s invisible), but your skin loves it.
It supports collagen, reduces inflammation, and even helps with soreness in jaw muscles if you clench. IMO, a mask that includes both red and NIR gives the biggest bang for your buck.
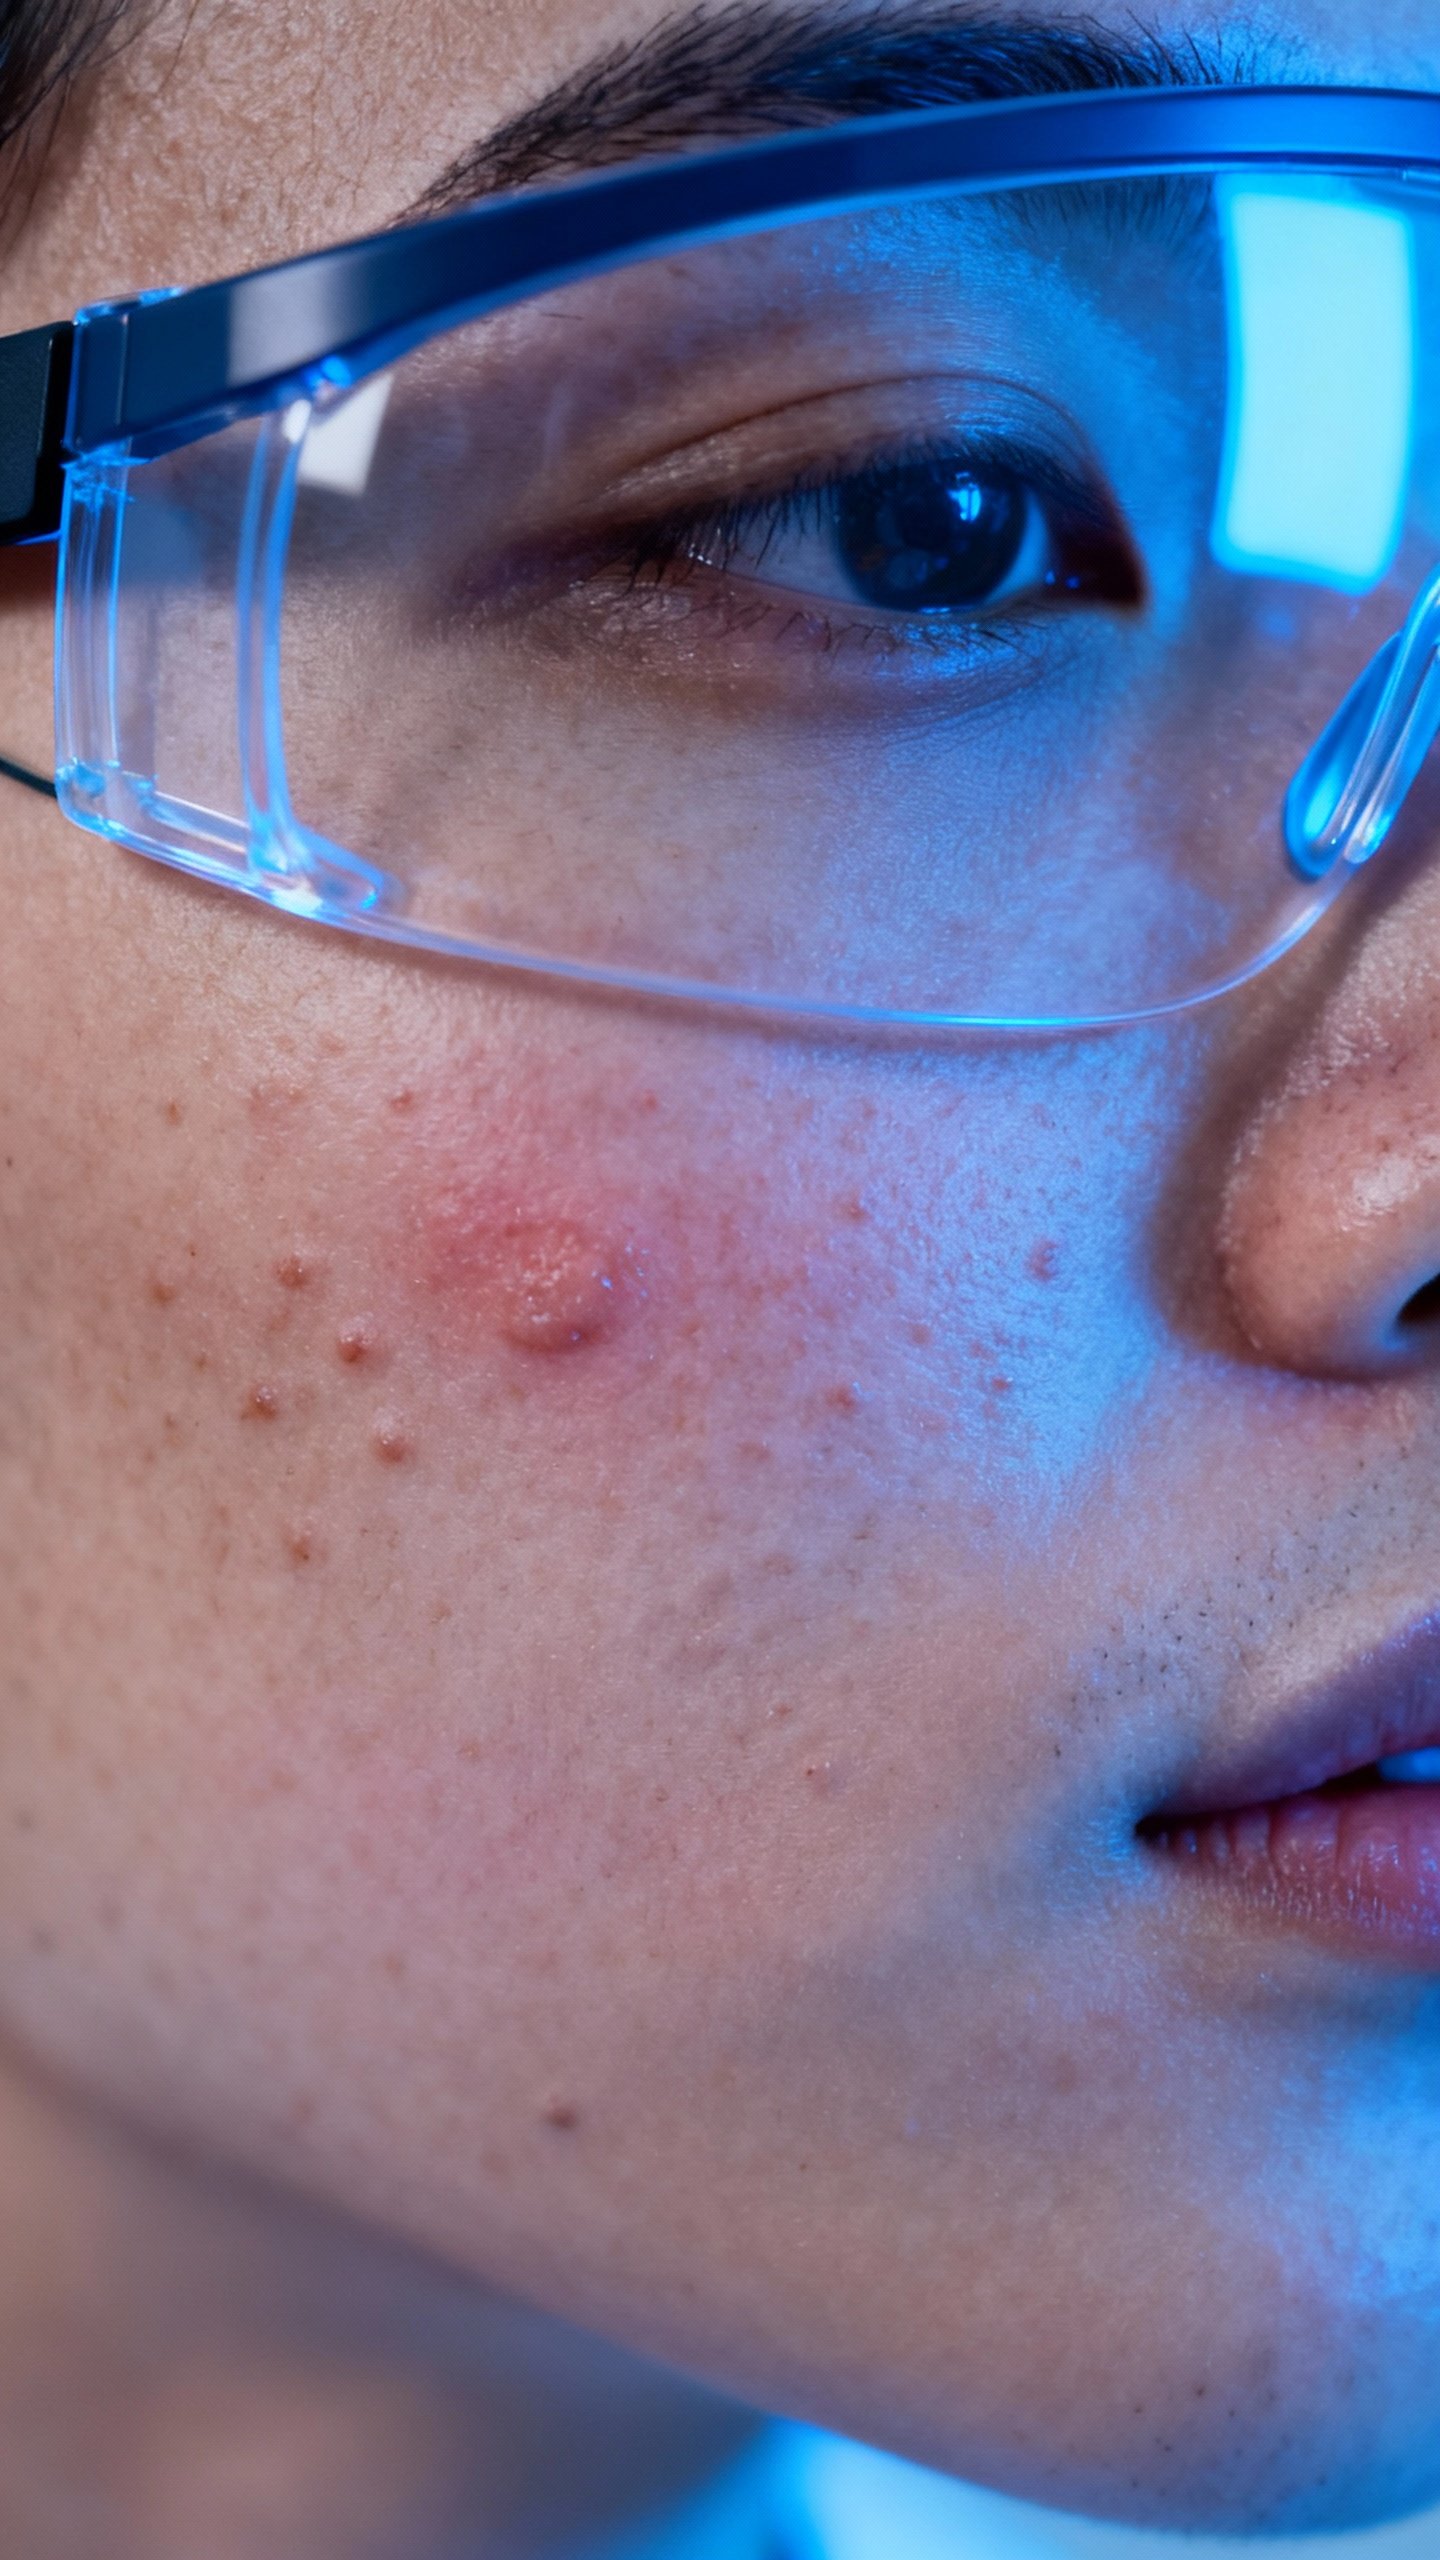
Blue light (around 405–470 nm) targets acne-causing bacteria (C. acnes) and makes them basically self-destruct. It also helps regulate oil production a bit. Best for:
Heads up:
Using blue for bacteria and red for inflammation and healing covers both sides of acne.
Many masks cycle these together for exactly that reason.
Green light (around 520–560 nm) won’t replace your vitamin C, but it can help with pigment and overall calmness. Think of it as the “tone management” setting. What it helps with:
No, it won’t erase deeper melasma on its own. But it can complement your pigment routine and reduce that blotchy look.
Yellow or amber (roughly 580–600 nm) sits between red and green.
It’s soothing, great for sensitive or reactive skin, and gives that “I slept eight hours” look even if you didn’t. Try it if you:
Many folks with rosacea tolerate yellow and red well for calming and barrier support, but avoid heat and high intensities. Start slow: 5–10 minutes, low setting, 2–3 times weekly, and watch your skin’s mood.
Marketing loves colors.
Some masks include “purple” (a combo of red and blue), “cyan” (green-ish/blue-ish), or “white” (a blend of multiple wavelengths). Reality check:
If your mask offers them, fine. But prioritize red, NIR, and blue for results you can actually see. Everything else is bonus sprinkles.
You don’t need every color every day.
Match the light to your main concern:
Anti-aging focus:
Acne-prone:
Sensitive/rosacea-leaning:
You don’t need to “ritualize” it like a wellness retreat. Just keep it consistent and smart. Do this:
Avoid this:
Most people notice better glow and calmness in 2–3 weeks. Collagen changes kick in around 6–12 weeks.
Acne improvements can show up in 1–3 weeks with blue light. Keep photos for receipts—your mirror lies, your camera doesn’t.
Yes. Many masks cycle colors automatically.
For acne, use blue first (bacteria), then red (healing). For aging, stack red + NIR together. Keep total time reasonable (15–25 minutes).
Generally, yes.
LED targets cellular functions, not melanin. Blue can be drying; moisturize accordingly. If you’re treating hyperpigmentation, combine green or red therapy with sunscreen and pigment-focused skincare for best results.
Not during.
LED doesn’t need a “conductor.” Apply simple hydration after. Save actives like retinoids or acids for other parts of your routine to avoid irritation. FYI, some brands sell “LED serums,” but they’re optional.
If your device lists energy (mW/cm²), 20–60 mW/cm² is a solid home-use range.
No numbers? Start on medium. If your skin flushes or feels tight, drop the intensity or time and build up.
It’s not mandatory, but it’s a strong upgrade.
NIR penetrates deeper, supports collagen, and calms inflammation. If you’re investing in one device for aging and recovery, red + NIR is the power combo, IMO.
Nope. LED and retinoids tackle aging differently.
Use both for better results, just not at the exact same time if your skin gets cranky. Alternate days or mask earlier and use retinoid at night.
Each LED color has a job: red/NIR rebuilds, blue fights acne, yellow calms, and green evens tone. You don’t need every shade daily—pick the light that matches your goal and stay consistent.
Give it a few weeks, take progress pics, and enjoy the glow. And yes, you will look a little like a robot while you do it. Small price to pay for great skin, IMO.