Ever walked into a beige room that looked expensive—but didn’t feel cold or boring? That’s not magic. That’s texture. And let me tell you—layering neutral textures is the quiet secret sauce of designer spaces. It’s what makes a cream-colored room feel like a warm hug instead of a rental listing photo.
I learned this the hard way after painting my entire living room “Swiss Coffee” and wondering why it still felt… dead. I had all the right neutrals—linen sofa, ivory walls, jute rug—but it felt flat. Once I figured out how to layer textures properly, it went from “meh” to magazine-worthy. And no, I didn’t hire a stylist or sell a kidney to afford high-end pieces.
Let’s break it down so you can recreate that effortless, quiet luxury feel in your own home—without needing a design degree or a trust fund.
1. Understand What Texture Actually Is
Before we start layering like pros, let’s clear something up: texture isn’t just about fabrics. It’s the feel, finish, and lookof a surface—whether you can touch it or just see it.
Tactile textures – You can feel them (e.g., chunky knits, velvet, boucle).
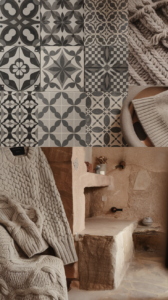
Visual textures – They look textured but feel smooth (e.g., patterned tiles, wood grain).
Natural textures – Think wood, linen, stone, or anything Mother Nature created before we turned it into décor.
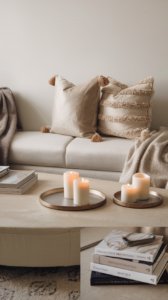
Why does this matter? Because when you layer textures, you want to mix all three types. A room full of linen and jute? Zzz. A room with linen, matte ceramics, fluted wood, and an aged brass lamp? Instant warmth. Instant richness. Instant “Who’s your interior designer?” moment.
2. Start with a Neutral Base
Let’s not get ahead of ourselves—your base texture sets the tone for everything else. Think of it like choosing your outfit before picking your jewelry.
Good base textures:
Linen upholstery – It’s matte, breathable, and screams effortless chic.
Flat-weave rugs – Think jute, sisal, or woven cotton.
Low-sheen paint or limewash – Even your walls have texture, friend.
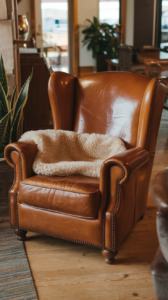
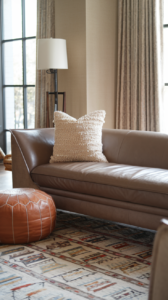
If you’re working with a smooth leather couch or shiny tile floors, you’ll need to add extra softness and warmth to balance those sleek surfaces.
Pro tip: If everything in your room is smooth and shiny… fix that. 😬
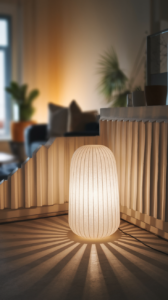
Want to know the most underrated texture in your home? Light. No joke.
A softly glowing lamp against a fluted wall casts shadows. A rattan pendant light filters and scatters light. This adds invisible texture that feels luxurious.
Lighting texture tips:
Use multiple sources of light (lamps, sconces, candles, task lighting).
Choose warm-toned bulbs (2700K–3000K is the sweet spot).
Go for lampshades in linen, paper, or woven materials.
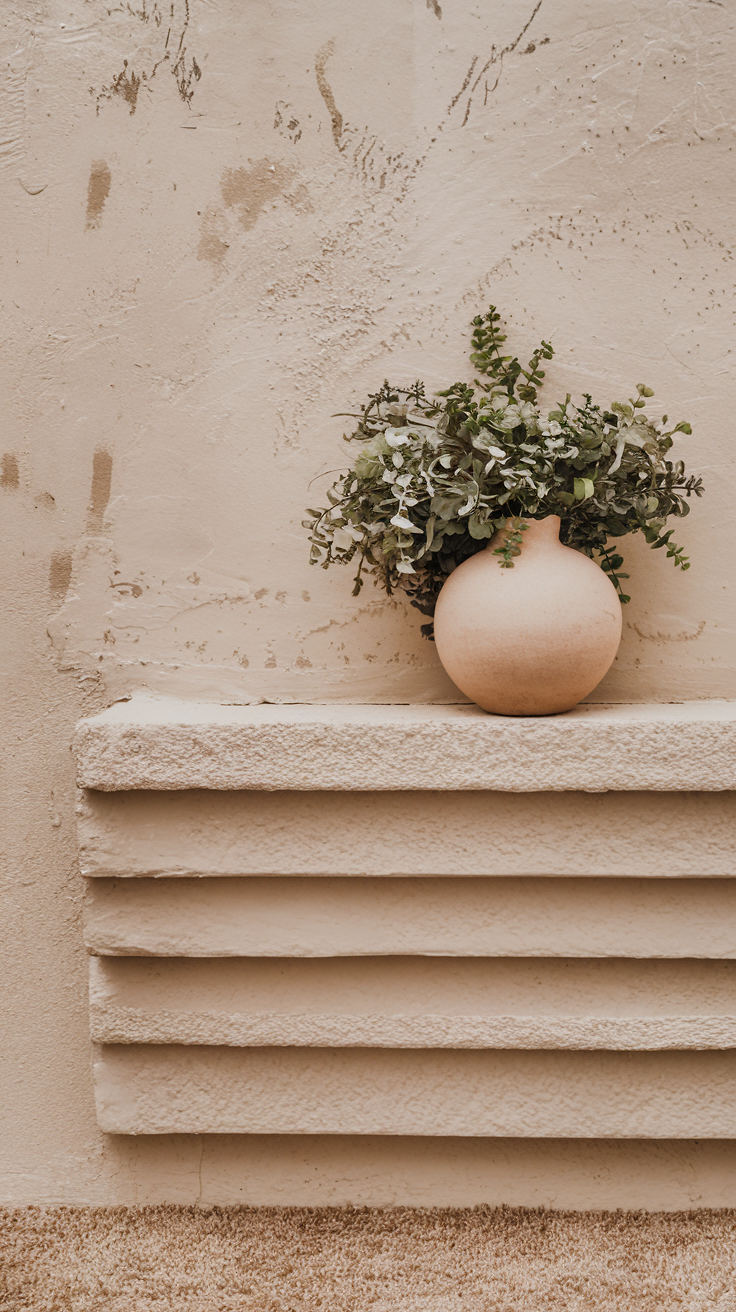
Also—consider texture in your light fixtures themselves. That plaster dome pendant? Textured. That alabaster table lamp? Total vibe.
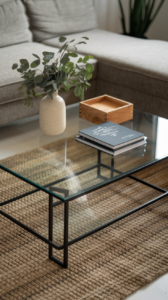
8. Mix Modern with Organic for Designer Contrast
Designers know when to soften a modern space or elevate a rustic one. You can do the same by mixing organic textures with modern forms.
A clean-lined beige sectional paired with driftwood decor.
A crisp linen sofa with sculptural ceramic accessories.
The contrast tells a story. And no, it doesn’t say “I just picked all this up from one big-box store.”
9. Don’t Forget the Walls (Yes, They Deserve Texture Too)
Walls aren’t just for hanging art. You can layer textures on your walls in subtle ways that elevate your space instantly.
Designer-approved wall texture ideas:
Gallery shelves with neutral-toned frames and mixed materials
Limewash paint for a lived-in, organic look
Wall hangings (fabric, macrame, woven panels)
Shadow box frames with textured or layered objects inside
I once added a linen-covered pinboard framed in brass to my entryway. Total game changer. It gave the wall dimension and doubled as a spot to clip postcards. Win-win.
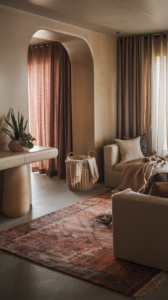
10. Create Zones with Texture Changes
If your room feels like one big beige blob, you might need to define zones using texture.
Each space within your room should have its own textural identity, but still feel connected by tone and material.
Final Thoughts: Layering Texture Is Quietly Genius
So, yeah—neutral doesn’t mean boring. It means deliberate. Intentional. Designer-ish. It just takes some thoughtful layering, some material mixing, and maybe a little mood lighting.
Let’s recap your neutral texture layering tips real quick:
Start with a textured neutral base (walls, sofa, rug)
Mix soft + hard surfaces
Add natural materials for authenticity
Play with tone-on-tone combinations
Layer accessories that offer texture and purpose
Use light as texture (seriously, it matters)
Contrast modern shapes with organic materials
Treat your walls like part of the texture plan
Use texture to define zones
Trust me—once you start layering textures like this, people will start asking you for design advice. And who knows? You might even start enjoying your beige space more than your black wardrobe. 😉