Let me guess. You walk into a room in your home, look around, and immediately feel a little overwhelmed. Maybe there’s too much stuff. Or maybe the stuff just doesn’t vibe anymore. Either way, you’re not alone. Been there, still hiding things in baskets. But here’s the good news: going from cluttered to curated doesn’t mean throwing out all your stuff and starting over. It’s more about working smarter, not harder.
I’m going to walk you through how to refine any room without losing your mind (or your favorite candles). Ready?
Step 1: Identify the Chaos (Gently)
What’s Actually Clutter, and What’s Just Poorly Placed?
Not everything that looks messy is clutter. Sometimes, a space feels chaotic because it lacks structure, not because it’s overflowing.
Ask yourself:
Do I use this item regularly?
Do I love how it looks?
Is it adding to the room or just floating awkwardly in a corner?
Bold truth: If something makes you shrug, it probably doesn’t deserve a spot in your curated space.
Pro tip: Take a photo of your room. Seeing it through a lens helps you notice what your eyes have gotten used to ignoring.
Grab a basket and remove everything that looks out of place. Seriously, everything. Vases, mugs, throw pillows that have seen better days.
Then sort into:
Keep (still sparks joy, still works)
Relocate (belongs in a different room)
Donate/Sell (you forgot you even owned this)
IMO, this is the part where the room breathes again. Don’t overthink it. You’re not Marie Kondo-ing your life, you’re just giving your space a little glow-up.
Emotional Hoarding? We’ve All Been There
If something’s been sitting there for years “just because Aunt Nora gave it to me,” ask: would she want you to keep it if you don’t love it? (Probably not.)
Step 3: Define the Room’s Purpose
What Do You Actually Want From This Room?
Every curated room has intentionality. That doesn’t mean it’s fancy or styled by a designer—it just means it serves a clear purpose.
Ask yourself:
Is this room for relaxing, working, entertaining?
Who uses it most?
How do I want it to feel?
Once you get clear on this, decisions get way easier.
Example: If your living room is for unwinding, maybe that bookshelf full of work binders doesn’t belong there (guilty).
Step 4: Create Zones (The Secret to Instant Structure)
Even a small room can feel spacious and balanced with the right zones. It creates visual flow and gives each activity a home.
Try this:
Reading Nook: Comfy chair + small side table + soft lighting
TV Area: Sofa + rug + clean media unit (cables hidden, please)
Work Corner: Slim desk + functional chair + concealed storage
Bold design tip: Rugs are magical. They help define zones and make everything feel intentional. Even if it’s just a cheap one from IKEA, it’s doing the work.
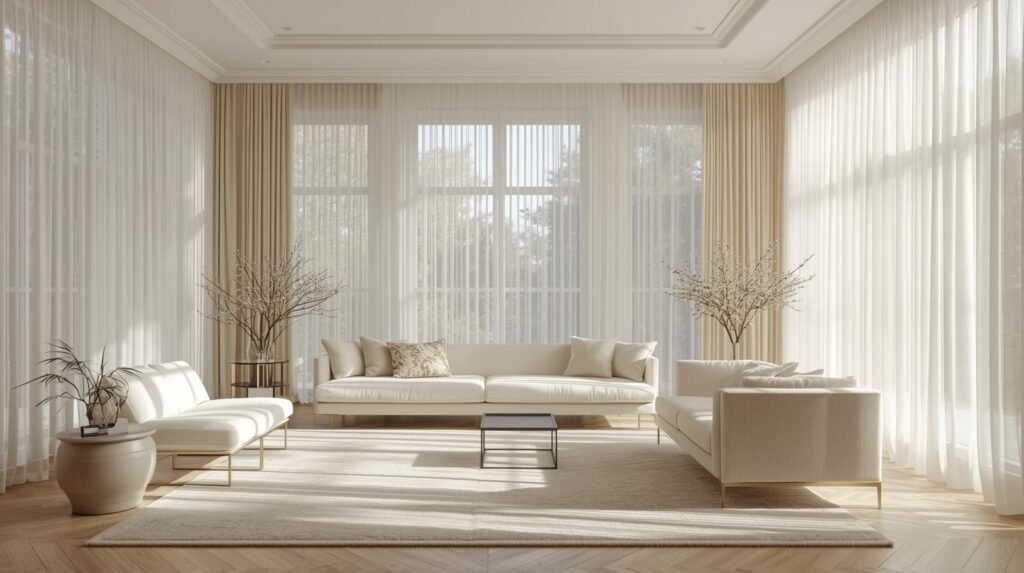
Step 5: Limit the Decor (Yes, Really)
Less Stuff = More Style
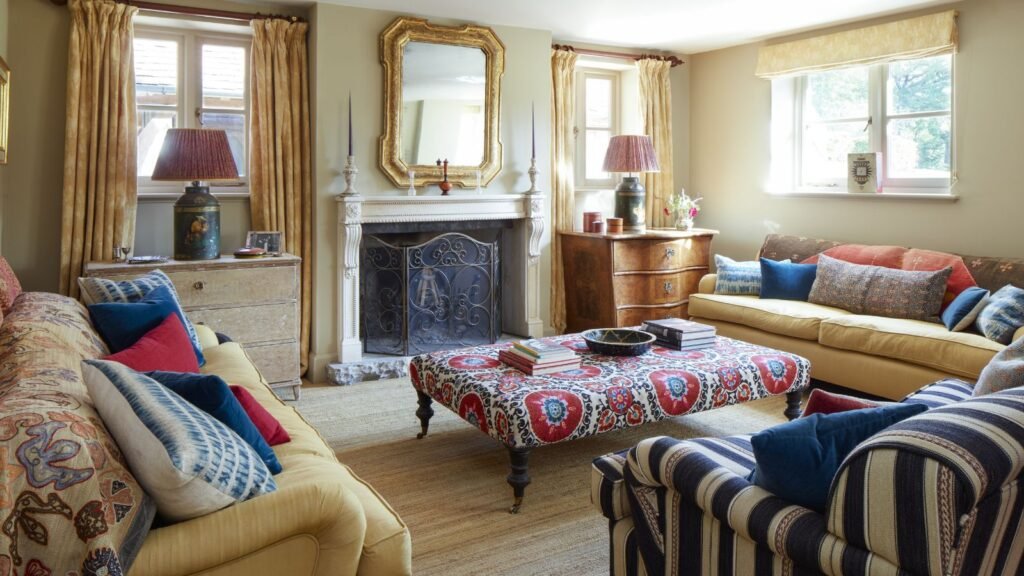
This might sting: You don’t need that many candles. Or trinkets. Or 12 pillows on one couch.
Instead, think curated:
One or two standout vases instead of a dozen tiny ones
A bold art piece instead of a cluttered gallery wall
Layered textures (linen, velvet, leather) instead of just… stuff
When in doubt, take everything off a surface and only put back what you really love. The space will thank you.
Step 6: Storage = Sanity
Hide It, But Make It Pretty
If you’re working with a small space (or you just have a lot of life), storage is your best friend.
Some quick wins:
Storage ottomans: Seating + secret space
Woven baskets: Great for blankets, toys, even ugly chargers
Floating shelves: Keep things off the floor without closing in the room
And yes, labels help. Especially if you live with humans who can’t remember where anything goes. Just saying.
A curated room doesn’t mean it has no soul. In fact, the best ones have a lot of it—just in a more edited way.
Think:
One signature scent (I swear this changes the whole vibe)
A meaningful object (a travel souvenir, a gifted piece, that weird little ceramic cat you actually love)
Books, but only the ones you read or plan to read. We see you, fake-spine bookshelf 😉
Just make sure everything has a reason for being there.
Step 8: Edit Again (Yes, Again)
The Final Sweep
Now that you’ve rearranged, styled, and re-zoned your space, step away for a few hours. Come back with fresh eyes and ask:
Is anything still distracting me?
Is there a spot that feels “off”?
What can I remove to make the room breathe more?
Refining a room is a process, not a one-time thing. And honestly, that’s kind of the fun part.
TL;DR: From Messy to Intentional
Remove the clutter (and the guilt)
Define the room’s purpose
Create clear zones
Edit your decor like a stylist
Use stylish storage like a pro
Add personality with intention
You don’t need a huge budget or an interior design degree. Just a clear eye, a bit of patience, and a willingness to let go of the random stuff you’ve been ignoring.
Final Thought
Your home should reflect who you are now, not who you were five years ago or what Pinterest told you to do last month.
So take it one room at a time. Sip some coffee, light a candle, and get your curate on. And if you end up accidentally redoing your entire apartment? Same. 😉